


Connector Kit provides an easy conversion method to adopt your current Comfort Head Strap with Quest 3.
1. Remove the head strap from Quest 2

2.Remove the connectors of both side by twisting the joint and strap in the opposite direction like this. This step may require a decent amount of force.


3.Before you assembling the connector of Quest 3, please notice the L & R mark

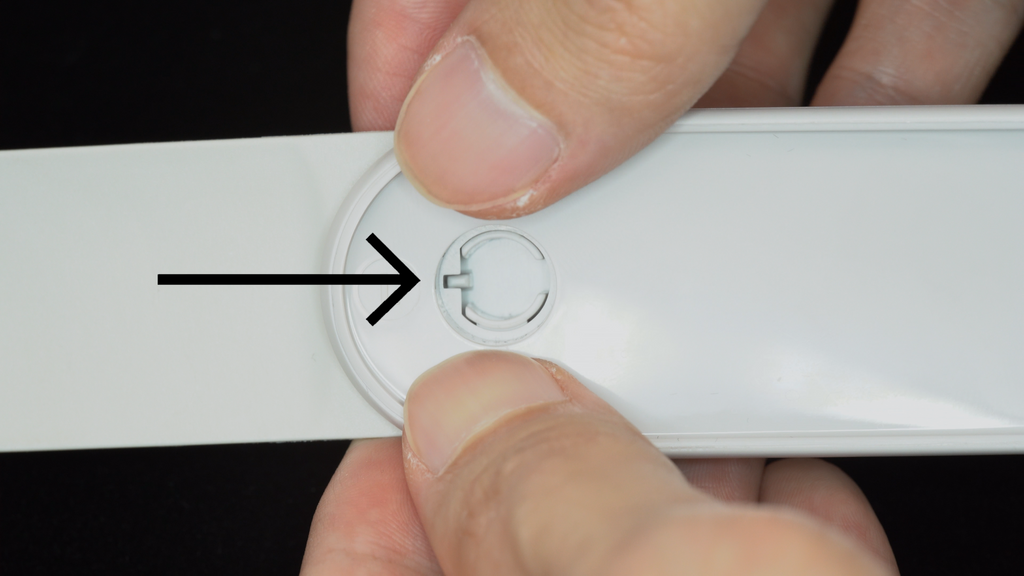
4.Also the groove on the connector need to be align with the bump on cap when assembling

5.When assembling, sandwich the strap between the connector and cap

6.Align the groove with the bump on the cap and press them together. This step may require a decent amount of force.
7.Repeat on the other side.

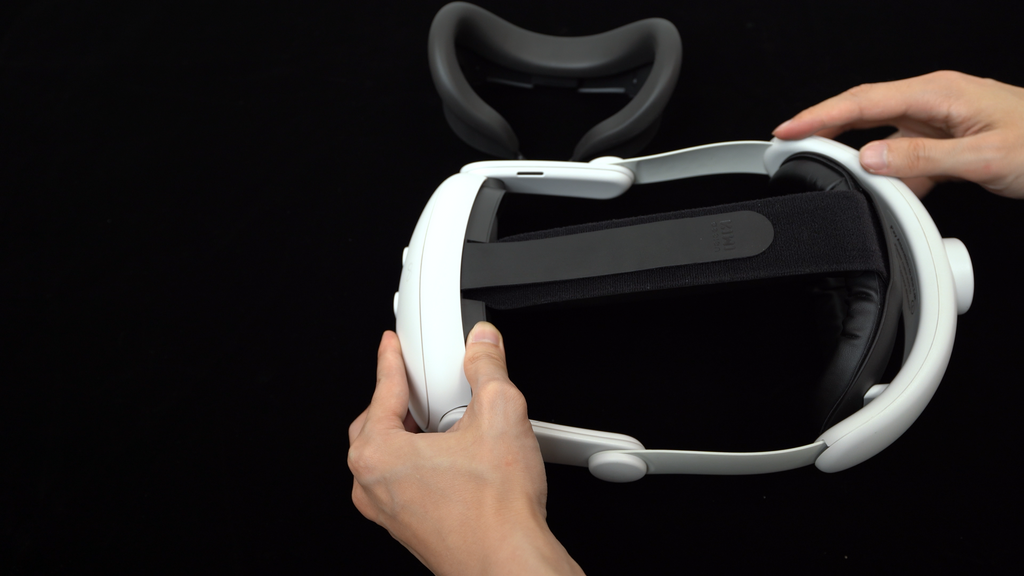
8.Done! Now you can install the head strap on your Quest 3.


2 comments
Jihn
Will this work with the battery version?
I understand that it may not provide sufficient charge, but it should increase use time.
I’m okay spending $10 to convert the battery headstrap until you come out with one designed for the 3.
hua
I always thought you guys only make the best products, and now I see you also provide the best service. I mean, this tutorial is very helpful.
Leave a comment
All comments are moderated before being published.
This site is protected by hCaptcha and the hCaptcha Privacy Policy and Terms of Service apply.